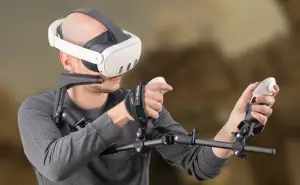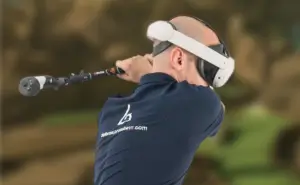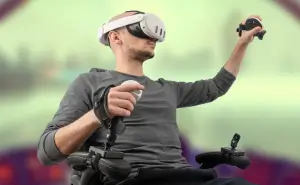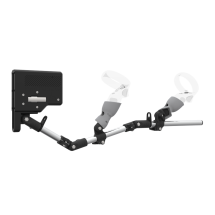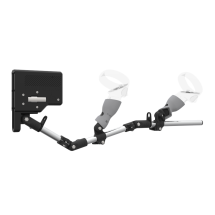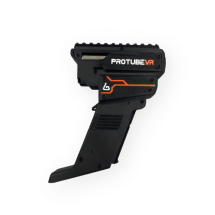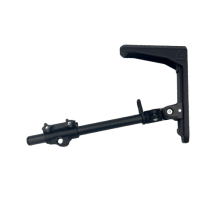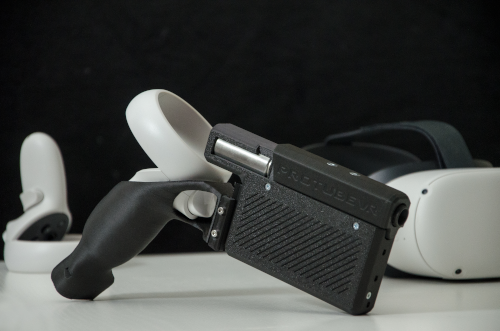
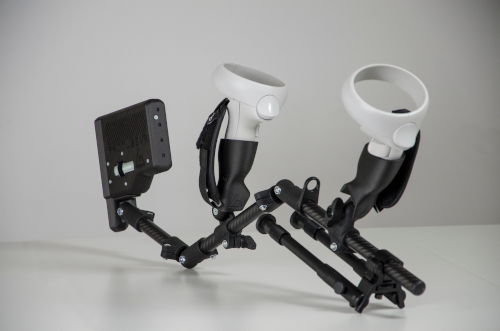
The Companion App creates a backwards compatibility for SteamVR and OpenVR games to our haptic devices, such as the ForceTube gunstock and the ProVolver pistol.
We call this SteamVR compatibility.
What does it mean?
1) This little software will detect when your avatar presses the trigger of your in-game weapon(s).
2) It will understand what kind of weapon(s) you are using and do some wizardry (quite a lot of maths and electrical conversion, tbh).
3) The Companion App sends a signal to your haptic device(s).
4) The device(s) will activate, replicating the recoil and rumble of what's happening on your in-game weapon(s).
What do i need?
You only need the Companion App if you are using PCVR.
If you are playing games directly on your standalone HMD (such as Meta Quest 2 and Quest 3 without PCVR link), our haptic devices are natively compatible with an extensive and ever growing list of VR games.
If you use a Meta HMD with PCVR, you need to changes the runtime. More info in the FAQ below.
Compatible games and mods
Through our collaboration with VR studios, the compatibility and calibration of our haptic devices are directly integrated into games.
This native integration does not require the use of the SteamVR compatibility feature and is present in over 60 titles across multiple platforms including PC, Quest, & Pico headsets. This list of native titles is growing continuously.
In addition to these titles, wonderful modders from the community are adding mods to enable native integration into popular games that do not. For games with such a mod, usage of the Companion App SteamVR compatibility feature is not required, just like with native titles.
For PCVR games that are neither native nor have a mod, you need to use the Companion App SteamVR compatibility feature.
For PCVR games that are native, you can use the Companion App to finetune your experience.
Check the haptic compatibilities page for more details.
Install the Companion App
1. Go on the Check the Companion App Steam page.
2. Add the Companion App to your Steam library.
3. Install the Companion App from your Steam library, like any other game.
4. Use the created shortcut to start the Companion App.
Companion App instruction Manual
General preview
Definitions
- Device: The electronic equipment you're connecting to the application.
- Channel: A reserved space where you can connect your devices and isolate specific received signals.
- ms: Milliseconds.
- Preset: A configuration file that contains saved channels and device info.
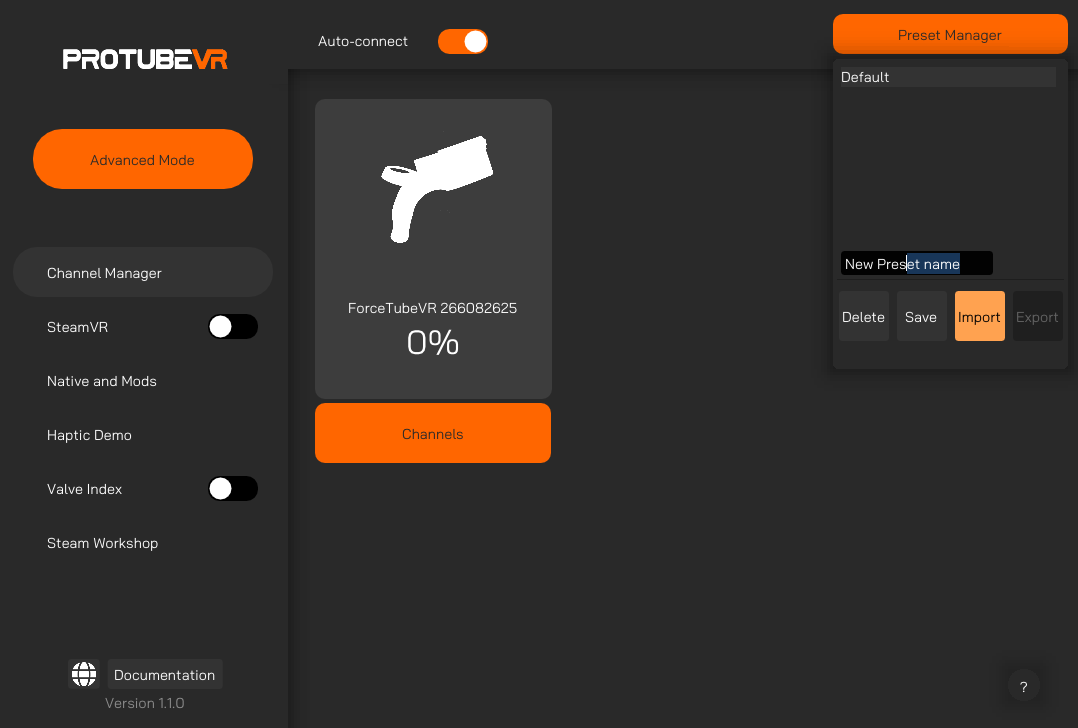
Left Side panel
Default mode
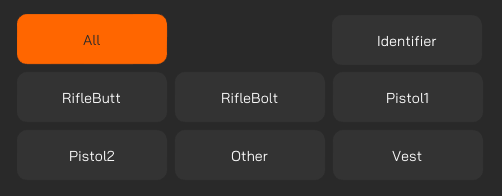
You have some tabs available by default:
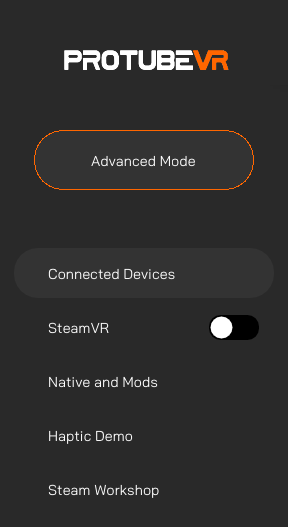
Advanced mode
Switching between modes enable/disable advanced features, like assignng custom channels to your device.
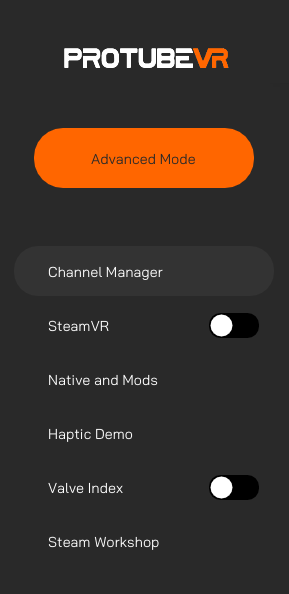
Top bar Widget
Auto-connect
The Companion application will automatically try to connect to the devices remembered by your PC.
Disable this option if you want only some devices to connect.
In advanced mode, the Stream Plugin button appears.

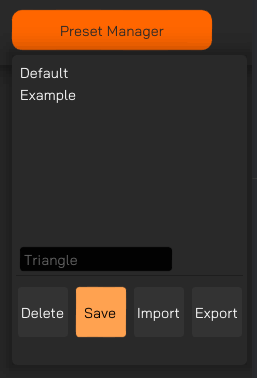
Preset Manager
When launched, the Companion App always loads on the default parameters. If you want to keep your modified settings, you must save it in a preset.
Double-clicking on a preset will load its settings.
Save: Create a new preset with the name in the black text box and saves current configs including:
- Assigned device channels.
- SteamVR settings.
- Native Compatibility Settings.
- Knuckles Fix values.
Saving a setting to an existing preset overwrites it.
If you want the retrieve the default preset, close the Companion App, reopen it, and save the parameters loaded by default in a new preset.
Import: Import a configuration file. You can find shared presets from our Discord community.
Export: Export all saved configurations as a file. You can share it with our Discord community.
Delete: Delete the selected preset.
Connected devices and Channels
To operate, the Companion App catches in-game signals, converts them and send them to your devices, making them kick.
These signals go through Channels.
There are 6 of them. By default, the signal will go through the 6 channels and your device will kick.
If you have 2 or more haptic devices, channels allow them to kick separetly.
If you prefer they not kick at the same time, you need to select a specific channel for each of them.
Doing so, you avoid the ProVolver Pistol kicking when you use your ForceTube Rifle for example.
Or if you have a pair of ProVolver haptic pistols, you only want to feel the recoil on the hand holding the gun that's firing it.
To ensure maximum compatibility and flexibility, a game only sends signals to a channel if its developers have set up that specific channel.
Some developers have only set up 1 or 2 channels for their game. If you use custom Channels setup instead of the Default one for these games, you have to select the configured channel.
From our own testing, we established a list of games and their specific channel(s). You can find this list within the Special Native Customization section below.
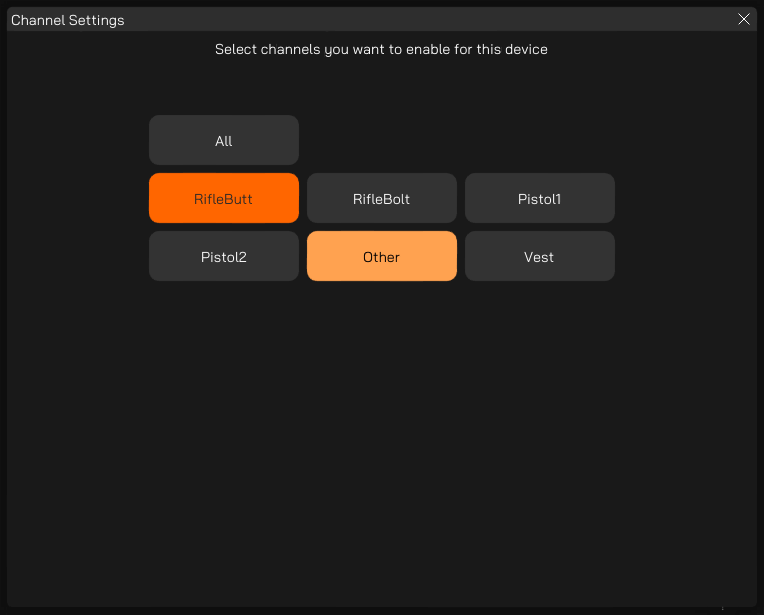
Connecting your new device will assign it to a signal channel automatically in this order:
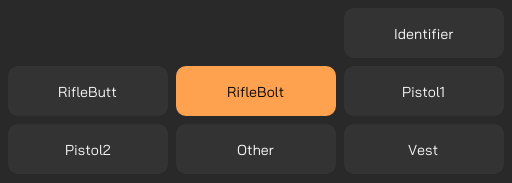
RifleButt - RifleBolt - Pistol1 - Pistol2 - Other - Vest
If you connect more devices than the total channel number available, auto-assign will loop back to RifleButt and so on.
Default mode
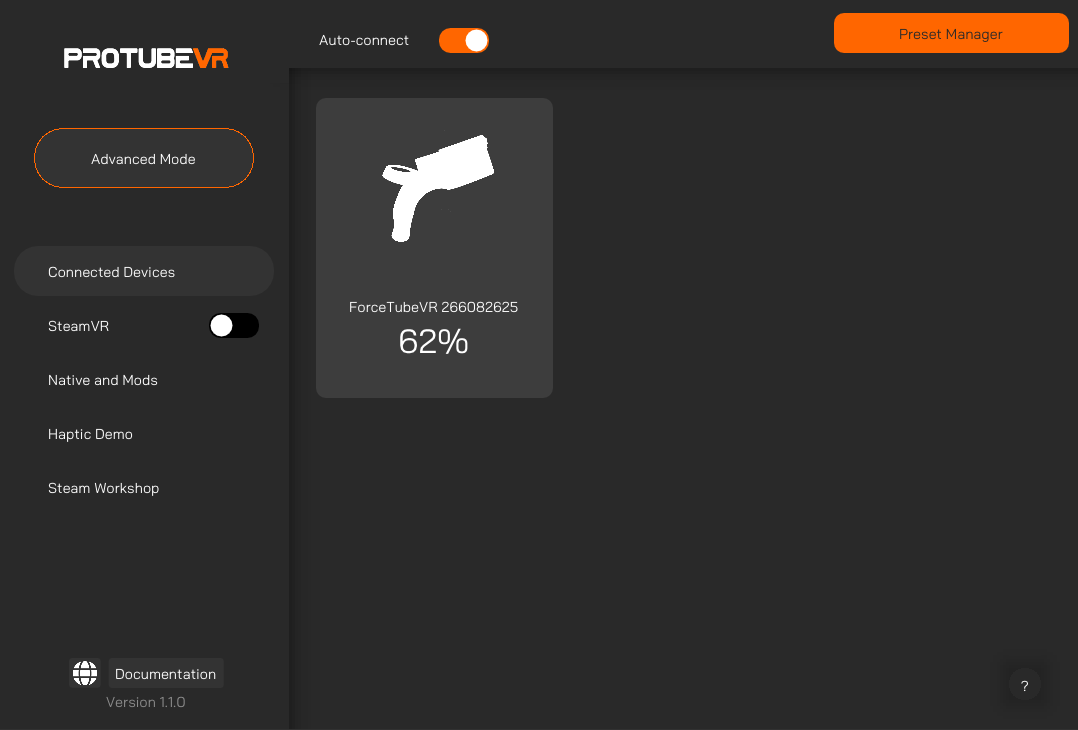
This is the page you land on when you start the application. By default, you will see each connected device here.
You can click on any device card to change its type, and the application will remember which device is what.
Advanced mode
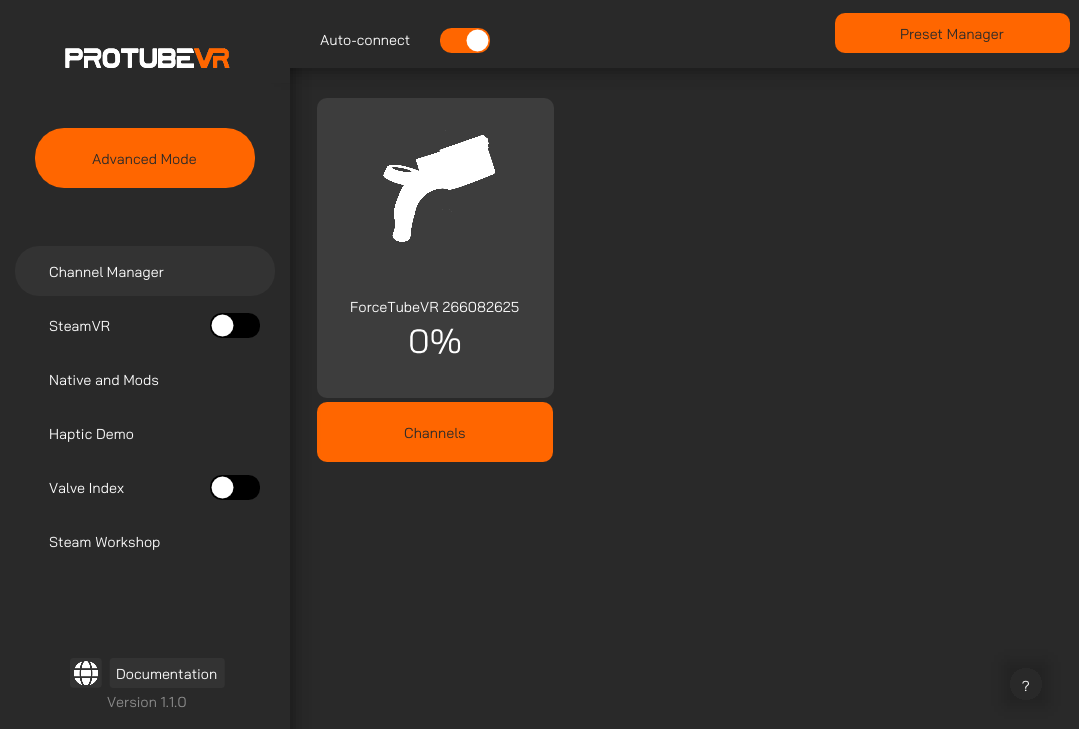
In advanced mode, you have a Channels button appearing under each device.
Clicking on this button will bring-up a menu where you can manually assign channels to your device.
It is important for some games and/or if you have several haptic devices.
SteamVR
Customize the SteamVR Compatibility Feature.
If you use a Meta HMD with PCVR, you need to change the runtime. Every step in the FAQ.
Default mode
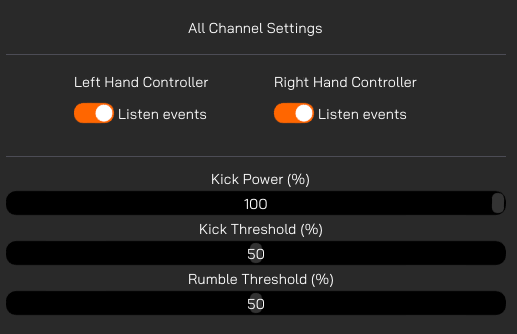
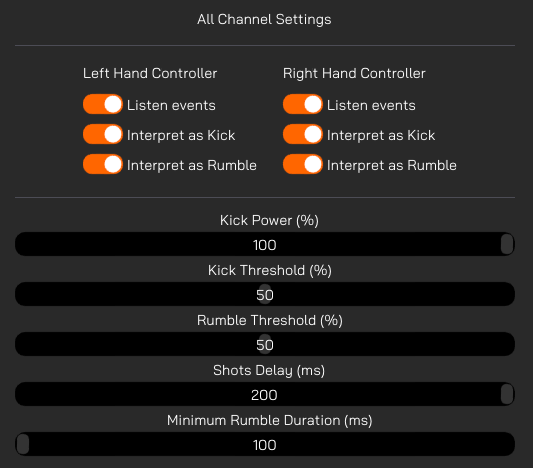
Listen Events: Whether you want your channel to react when your left/right hand triggers an haptic event.
Kick Power: Controls the kick power of your devices.
Kick Threshold: Adjust this variable to control required power for SteamVR events to trigger you device kick response. Each game has different values defined by the developers, you will have to do some testing to get a good result.
Rumble Threshold: Adjust this variable to control required power for SteamVR to trigger your device rumbe response.
Advanced mode
Start by selecting a channel and tweak your settings from here.
Make sure your device is in the right channel by checking in your channel manager. You can also use the "Identifier" command below.
Identifier: Sends a kick command to the selected channel.
Tips: If identifying a channel does not result in any connected device kicking, it probably means that no device has that current channel assigned. A device is considered connected if its battery displays a percentage superior to 0.
Interpret as kick / Interpret as rumble: If you want your right or left controller events being interpreted as a kick, rumble or both.
Shots Delay: Limits the reaction rate of your devices. Avoids triggering event bursts on each in-game interaction.
Minimum Rumble Duration: Controls the duration between each vibration.
Haptic demo
Default mode
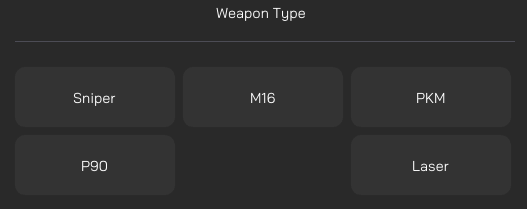
Mainly used to simulate different types of weapons.
- Sniper : Kick with vibration.
- M16: Launches a salvo of 3 consecutive kicks.
- PKM: Continuous burst of kicks and rapid vibration.
- P90: Continuous burst of rapid kicks.
- Laser: Vibrates to charge the shots, then kicks after charging.
Advanced mode
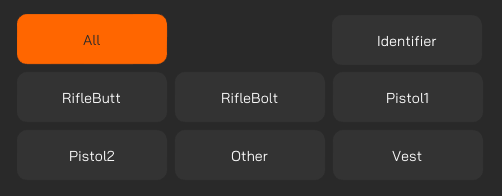
Start by selecting a channel and tweak your settings from here.
Make sure your device is in the right channel by checking in your channel manager.
Identifier: Sends a kick command to the selected channel.
Tips: If identifying a channel does not result in any connected device kicking, it probably means that no device has that current channel assigned. A device is considered connected if its battery displays a percentage superior to 0.
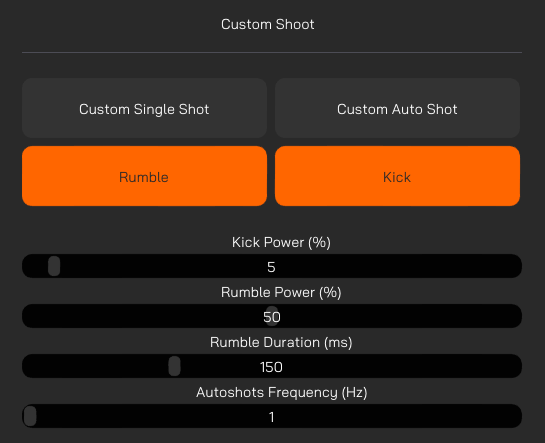
Custom Single Shot: Shoots once using specified parameters in brlow sliders.
Custom Auto Shot: Shoots using specified parameters and loops based on frequency slider.
Kick Power: Controls the kick power for demo mode.
Rumble Power: Controls the rumble power for demo mode.
Rumble duration: Controls the rumble duration on each shot. Max is 500 ms.
Autoshots Frequency: How many times per second you want to shoot with Custom Auto Shot for the demo mode.
Native and Mods
On PCVR, if you are playing a native game or a game with integration enable by a mod, you can customize your inputs.
These games do not need the Companion application to work, but it will allow you to finetune some settings if you have the need to.
Make sure to connect any desired device to the app first, and then start your game.
Default mode
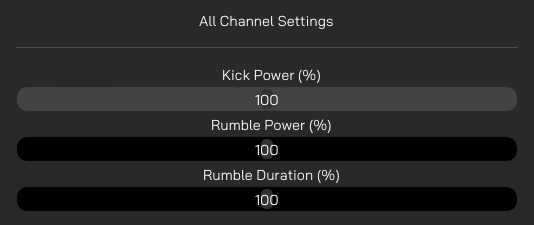
By default, your device will listen to all channels at once ensuring most of the compatibility.
For each of the below parameters, refer to this chart:
- 0% : No power
- 100% : Original game power
- 200% : Double original power
Kick Power: Controls the kick power percentage.
Rumble Power: Controls the rumble power percentage.
Rumble duration: Controls the rumble duration percentage for each shot.
Advanced mode
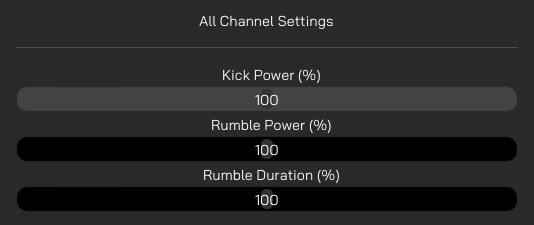
Start by selecting a channel and tweak your settings from here. This allow your devices to kick separately.
Make sure your device is in the right channel by checking in your channel manager.
Identifier: Sends a kick command to the selected channel.
Tips: If identifying a channel does not result in any connected device kicking, it probably means that no device has that current channel assigned. A device is considered connected if its battery displays a percentage superior to 0.
Special Channel Settings
Your devices need to use the correct channels set by the developers for customization to take effect.
For the following games, make sure your Haptic devices are set in the right channels when enabling Native Customization.
If a game on this list doesn't work, search and enable ForceTube settings in your game menu.
If your native or mod-compatible game doesn't appear on this list, you will have to find the used channels via trial and error.
Any game that is not native or mod-compatible will work with SteamVR compatibility.
| Dead Second | Pistol1 |
| Surv1v3 | Pistol1 |
Cactus cowboy Plants at War | RifleButt |
| Cactus cowboy 3 Fully loaded | RifleButt RifleBolt |
| Hotdogs Horseshoes and Handgrenades | RifleButt RifleBolt |
| Larcenauts | Pistol1 Pistol2 |
| Resist (enable parameter in game settings) | Pistol1 Pistol2 |
| Onward | RifleButt RifleBolt |
| Contractors | RifleButt RifleBolt |
| Tales of Glory 2: Retalation | RifleButt |
| Vertigo 2 | RifleButt |
| Gun club VR | RifleButt RifleBolt |
Warchasm | Akimbo out of the box |
| Gambit ! (Pistol only, right hand only. Start the Companion app after the game connects to the devices) | Pistol2 |
Valve Index with Knuckles
A few players using a Valve Index HMD and their Knuckles have reported us their in-game hands fly away while shooting in long burst.
We have developed a driver to fix this.
The driver does not work with other headsets; only Valve Index might need it. If you don't own a Valve Index headset or your in-game hands don't fly away while using the Knuckles controllers with your Index HMD, you can skip this section.
Install the driver
- Close the Companion-App and shut down VR if it's been turned on.
- Go to your Companion App installation folder.
- Open the folder "Valve-Index-Knuckles-driver".
- Install the driver.
- Restart the Companion App.
- Enable Advanced mode.
- Go to Valve Index tab.
- Enable the feature with the toggle button and tweak the sliders to your preferences.
Uninstall the driver
- Go to the folder "C:\ Program Files (x86)\ Steam\ steamapps\ common\ SteamVR\ drivers".
- Delete the folder "!ProtubeDriver1”.
Finetune your Knuckles settings
Additional help :
- Try to reduce the kick power produced by the mode you're currently using (either SteamVR or Native/Mods).
- Extend the Shots delay.
- Reduce the rumble duration.
- Don't forget to save your configuration.
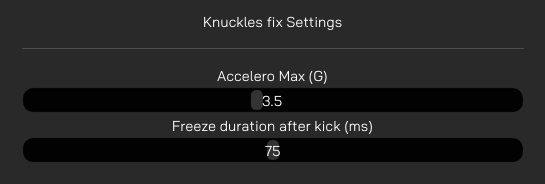
Accelero Max: Limits max acceleration of your in-game hand.
Freeze Duration: How much time your hand gets frozen after a kick if it hits max acceleration.
Steam Workshop
You can download and share presets with the community with the Companion App' Steam Workshop.
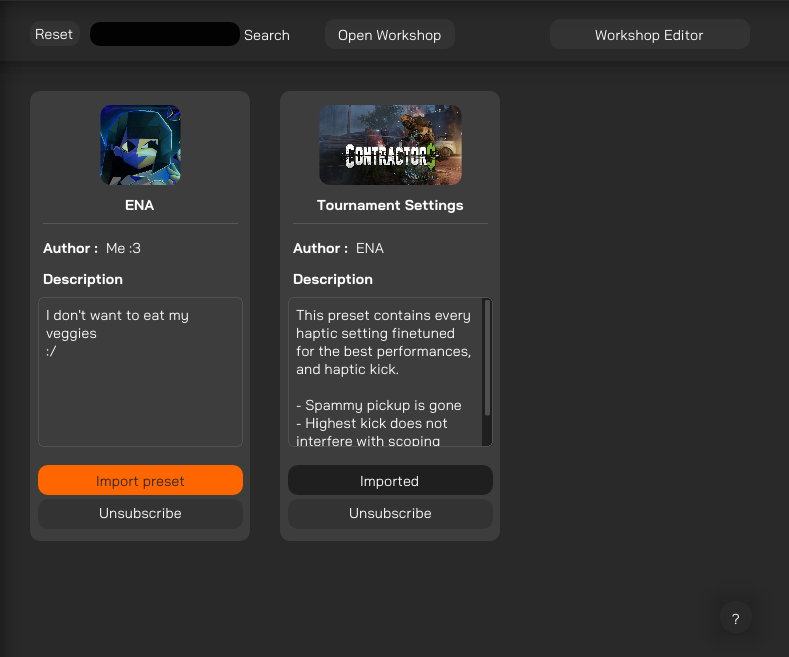
This page lists all items you’ve previously subscribed to for the Companion-app.
You can search for a specific item in your list using the search bar.
Importing presets
If you don’t have any items yet or want to open the application workshop in a single click, you can press the “Open Workshop” button.
After subscribing to an item from the steam application, you might have to restart the Companion-application to see newly added items.
To import a subscribed item into the preset manager, click the “Import Preset” button.
Your preset will be imported, and the button will change its status to “Imported”.
To unsubscribe and delete the item from your computer, click the “Unsubscribe” button.
Steam Workshop Editor
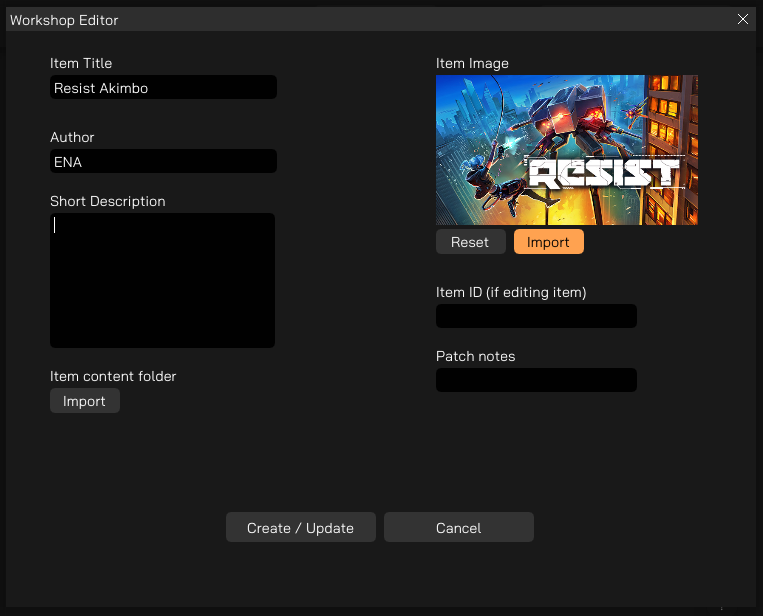
In advanced mode, you can upload your own items after clicking on the “Workshop Editor” button.
You can upload a new item every 15 minutes but if you need to modify an existing one the delay is shorter (no delay on lightweight items).
Your item can be reported and will be removed from the Workshop if it doesn’t respect Steam guidelines.
Exporting your presets
To export your presets and upload an item:
- Start by preparing a folder outside the Companion-application. The folder will be your item uploaded on Steam Workshop.
- If it’s not already done, export your desired preset to the folder, or move the preset to that folder.
- When your folder is ready and you’ve put all your files inside, open the Editor in the Companion-application.
- Fill in the required fields.
- Precise your prepared folder location.
- Import an image that will represent your content.
Edit existing item
If you want to edit an existing item belonging to you, you will have to specify its ID.
Your Item ID is the last numbers in the URL bar of the Steam app workshop, either web or desktop. Example: “https://steamcommunity.com/workshop/filedetails/?id=3104917878”
Patch notes: Not required but can provide useful information to users on item updates.
When you’re done, click the “Create/Update” button to upload your item on steam.
Streamers Addon
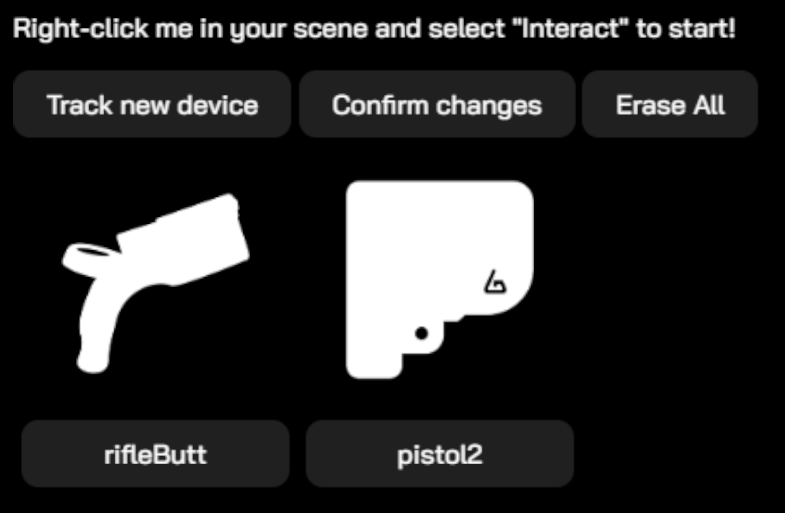
In advanced mode, the top bar contains a “Stream Plugin” button.
This feature is destined for content creators and streamers. It is similar to input overlay for gaming controllers.
With it, you show an icon of your haptic devices on your stream overlay. This icon will blink each time you use it.
Clicking the button opens a browser window.
You can import that browser source inside your favorite streaming software.
Then, follow the written instructions on the source.
You can change the device type by clicking on the image logo multiple times, and the channel by clicking on the button right under each device.
Once set-up, the tracked devices will be highlighted when a kick is detected.
By confirming changes, you save the current settings for your next broadcast sessions.
When you erase all, your saved configuration will be cleared.
FAQ and Troubleshooting
- Make sure Advanced mode is disabled (the button should be gray)
- Make sure both of your devices are connected to your PC by going into the side panel option "Connected Devices"
- If you see 2 cards with a non-zero battery percentage, you're set.
- Now, go to SteamVR tab right below.
- There should be 2 toggle buttons present on the menu
- Make sure they're ticked "on"
- Enable SteamVR tab toggle button
- Finetune your SteamVR settings
- Create new presets and save them through the preset manager if you want to keep your settings on your next session.
- Make sure both of your devices are connected to your PC by going into the side panel option "Connected Devices". If you see 2 cards with a non-zero battery percentage, you're set.
- Enable advanced mode. You can manage signals by channel from there when advanced mode is enabled.
- Go to SteamVR tab right below.
- Disable the listen events on "All" channel.
- If you didn't change manually your channels, your first 2 devices are going to be in RifleButt and RifleBolt (1 device per channel).
- Make sure you have only 1 listen event side (right or left) enabled on each Channel setting.
If your left device shoots on right events:
- Enable SteamVR tab toggle button
- Swap the listen event between the 2 channel settings.
- You should be all set up.
If your devices still don't kick although they display percentages:
- Note in which channels you just enabled your parameters
- Navigate to "Channel manager" tab.
- There is an orange button under each of your devices.
- Ensure that each device assigned canal. corresponds to the ones you just set up in SteamVR.
- Launch the Companion-App first, then your game.
- If you didn't set channels manually go directly under "Native and mods" tab.
- Adjust the sliders until you have a good result.
- Save your configuration as a preset if you want to keep it for your next session.
Pistol1 may not always be the left hand, and which gets assigned to it depends on which device pairs to game first.
Games that have Pistol1+Pistol2 have an 'invert channel' or 'swap hands' option in the settings to allow you to change which hand your 2 ProVolvers are assigned to.
It is only possible to use 2x devices at a time.
If one tries to pair 3x or more, only the first 2 devices paired to a game will receive events. The rest receive nothing even if they pair to the game.
In some games, pairing more than 2x, or having more than 2x devices in device history even if only 1-2x are powered on to actually connect to game, completely breaks pairing, causing an infinite feedback loop of all devices reconnecting to the game every 5-20 seconds.
Dead Second and some mods simply don't work with Companion App at all when using 2x devices.
If Companion App is already running, affected games crash and won't launch properly.
If one launches Companion App after game is running, it may still crash, or haptic device constantly pair over and over.
Even if none of these occur, any changes made to native game effects will not apply no matter what.
To use any mod on PC, you must only have 2x devices in device history for game to give events to devices properly.
Otherwise it can't tell that the devices that aren't powered on that are in device history aren't the ones being used, so it will always pick one of the ones not actually powered on to receive Pistol2 signal.
ForceTube and ProVolver only work on BT4.0 dongles. Not compatible with BT5.0 dongles. They can work, according to customers, on Intel chipset (specifically AX200, AX210, AX220) Wifi+BT which can be found directly on some motherboards, or bought as PCIE adapter cards. Also, they do not work well with Realtek chipset in any capacity.
The BT4.0 dongle we provide runs a Qualcomm chipset. It does not have the capability to let you run both ForceTube/ProVolver & bHaptics simultaneously.
Newest bHaptics products come with a BT5.0 dongle that runs on a Realtek chipset. They used to come with a BT4.0 dongle that let users run both products simultaneously.
bHaptics products still work with BT4.0 (according to their website).
The solution is to find Bluetooth that can let both ForceTube/ProVolver & bHaptics work at same time.
This is 1 of 3 things, either:
1. The BT4.0 dongle bHaptics used to provide with their products until they changed to BT5.0
2. A BT4.0 dongle that is not Realtek. May take trial and error to find one that works well with both. Asus BT4.0 dongle has been reported to work!
3. Onboard Bluetooth from desktop motherboard or PCIE Card that is Intel Chipset AX200, AX210, or AX220. Make sure to install WiFi antenna even if you don't use WiFi, because it boosts BT signal strength allowing it to work. This also means it will likely not work on laptop and you need to use a BT4.0 dongle.
Disclaimer: BT transmitters have a limit on how many devices can be actively paired simultaneously. This means it is not possible to use every single bHaptics product while also using 2 of our haptic devices (ForceTube+ProVolver, or 2X ProVolver).

