Your cart
Il n'y a plus d'articles dans votre panier
Getting Started (no ProStraps)
After unboxing, the first thing you need to do is get the mag cups. They will be in their own bubble wrap bag, or already on the MagTube. If they are already on the MagTube, you can grab a cup firmly, and remove by using a doorknob twist motion.

On each cup will be writing to indicate if it is for the left or right controller. Underneath, where you see the magnet, you might also see some more writing indicating which brand the cups are for (i.e. Quest 2). Please note: if you ordered ProStraps, they might already be pre-installed on the cups.
Before putting your controllers into the cups, it is suggested to wipe down the part of the controllers that will go inside. This is to ensure optimal friction so they do not slide out easily. Next, observe the small hole in the cup. This is intended for feeding the wrist strap through, and should be facing you, or away from the trigger button on the controller. The magnet on the bottom of the left cup should be angled towards the right, and the magnet on the bottom of the right cup angled towards the left.
To install, simply start with the wrist strap and feed it through the small hole. Then push the controller into the cup until it cannot go any further. Use of excessive force is not required as it should easily go in until it hits friction, and then with a little bit of force you should be able to continue pushing in until it won't go any further. That is the point at which you should stop and it is considered installed in the cup. Please note: if you are using Index or PSVR 2, we have videos in Website tutorials under Cup.
Getting Started (with ProStraps)
All steps above apply. Before putting controllers into the cups you will need to install the ProStraps as shown in our tutorials. Depending on your controller brand, and the state in which they were received (pre-installed vs separately) what you do may vary. But essentially, you need the bottom to be on the cup, and the top to either be connected to an insert you put inside your controller's battery cover (ProStraps Grips), or inside the cup itself (ProStraps Grips MK2 Flex for controller holder).
Once the ProStraps are correctly installed, you follow step 4 above.
Setting up the MagTube
Once out of the bubble wrap bag, unfold the MagTube. If the tubes are not freely moving at the joints, you can use the larger of the 2 allen keys provided in a separate bag to loosen them.
Observe your MagTube. There will be 2 brackets with magnets in the same shape as the ones in the cups on two separate tubes. By default, your Magtube is set up for dominant right hand use. To switch hands follow the tutorial on our website. You will also see two open ring parts, one at the very back, and another on the connector to the longest tube. These are mounting points for the sling.
Install the sling on these mounting points. If you chose a 1 point sling, mount it near the back.
You may put the controllers with the mag cups on the MagTube. It is now ready for use!
Setting up the Bipod with MagTube
If you ordered a bipod, this is a good time to install it following our tutorial. For ease of installation, it is recommended to have both controllers off the MagTube.
Using your MagTube for the first time
The first thing you will need to do is adjust/align your MagTube so that you can see through the sights on firearms. This video by community member ragesaq is perfect to follow along.
Once you follow the video practice makes perfect! It may take some time to get the adjustments and alignment dialed in to suit your preferences. It will also take some time to get used to detaching and reattaching the controllers to the MagTube, and to reload firearms, etc. For additional tips, and community shared MagTube setups, head over to our Discord.

Can I switch primary hands?
Yes, instructions here (prompts pdf download).
Regular chrome tube vs. Carbon which is better?
Regular is cheaper and heavier. Carbon is lighter, more durable, and the tubes don't reflect (helps with tracking on certain HMDs like Index) Carbon is ~112g lighter
Should I get the bipod?
You have to consider how you will use it.
Does your play space allow for use while standing or crouching by letting you sit it on something for stability? Can you comfortably accommodate its usage?
The bipod is a very powerful tool when used properly.
What's the difference between 1 and 2 point slings?
As their names state, the 1 point connects to the stock on one point (typically the back end) and the two point connects to the stock on two points (back end plus in between both hands) for extra stability.
A 2 point sling can be used as a 1 point sling by connecting both sides to 1 point.
What is the Bracket Gunstock?
With Bracket Gunstock, users can install a 3rd magnetic bracket mounting point to their gunstock to attach either cup to.
This makes it easier on the user to adjust the stock between different types of firearms (such as rifles to smgs) where the supporting hand mounting point in game is much closer or farther from the user.
Mine didn't come with magnets?
The cups may have arrived already attached to the stock. Simply detach them from the stock to see the magnets.
There are in fact only 3 different products that come with fixed cups, and none of them are the MagTube :)
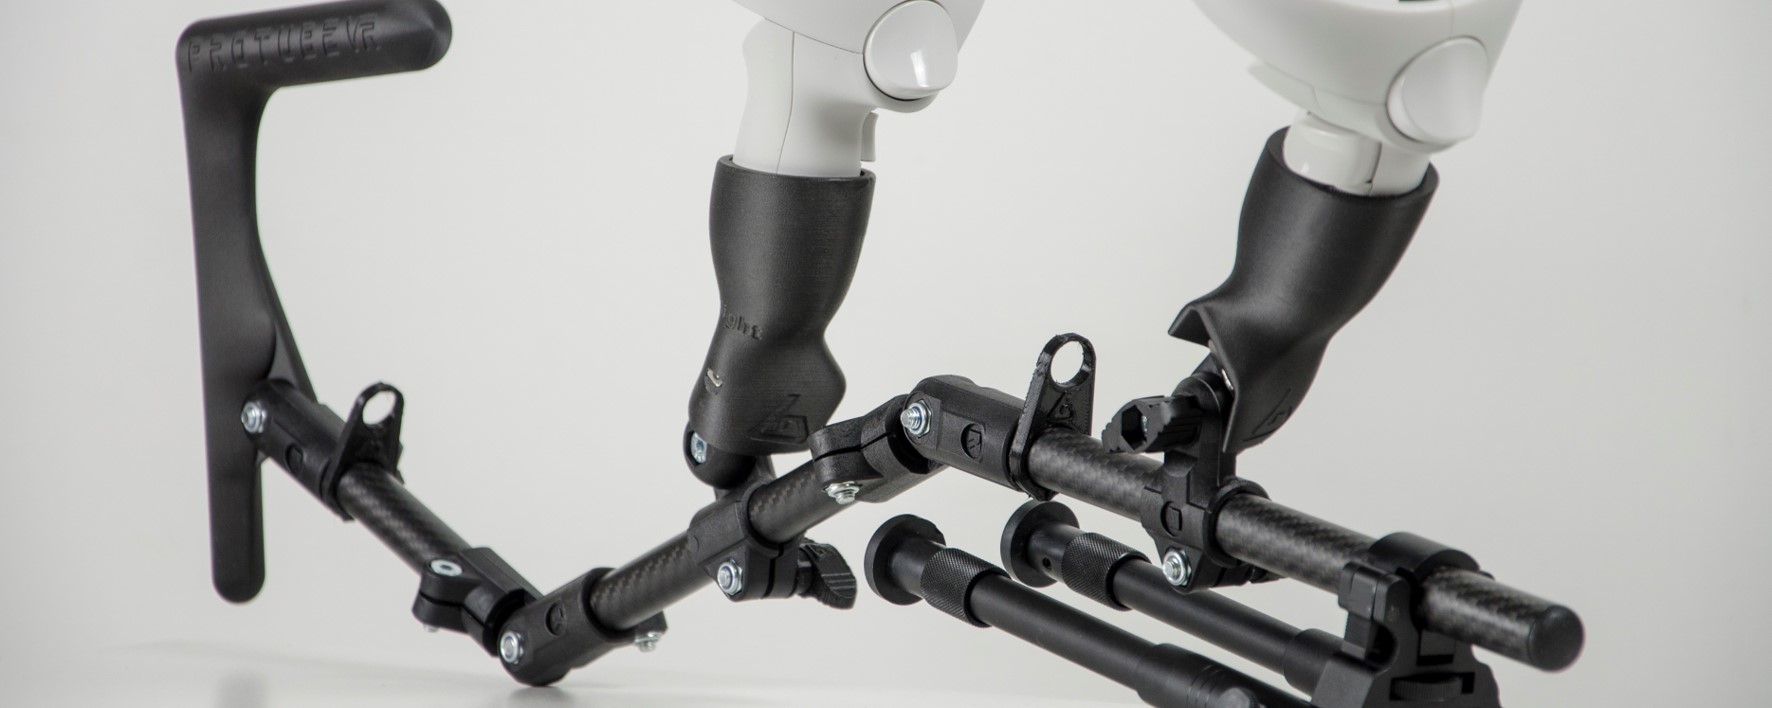
One of the magnetic mounts on the MagTube is smooth, is this on purpose?
Yes. The trigger hand supports most of the gunstock’s weight.
A notched T connector keeps it locked in place when tightened to avoid involuntary changes of angle.
The spacing of the notches still allows for a good amount of adjustment.
The off-hand T connector is smooth to allow finer adjustment on the fly. Think of a clock.
If the notched T connector can adjust in hours, the smooth T connector can adjust in seconds.
If you want both controllers on notched connectors, you can buy a second notched one here (select notched).
How do I adjust my MagTube for X gun or for Y game?
Hop into our Discord to see how the community sets up the MagTube for different guns and games.
